PostgreSQL Tutorial
Introduction
Here we will learn how to use PostgreSQL, a powerful object-relational database system. The tutorial has instructions for installing PostgreSQL on your computer, using VS Code as a client, and writing SQL queries to interact with the database. It also includes a section on how to integrate PostgreSQL with Python via the psycopg2 library.
Why PostgreSQL?
PostgreSQL is an interface for interacting with databases1. It is free, open-source, and widely used in both academia and industry. PostgreSQL has been maintained for more than 35 years, and it supports many data types, such as integers, text, dates, currencies, and arrays. It also supports advanced features like full-text search, JSON, XML data types, and geospatial data types.
One of the key advantages of PostgreSQL is its extensibility. Developers can define custom data types and functions, and even write code in different programming languages without needing to recompile the database. This makes it easy to integrate with Python or R, which is particularly useful for data analysis and machine learning tasks.
Installing PostgreSQL
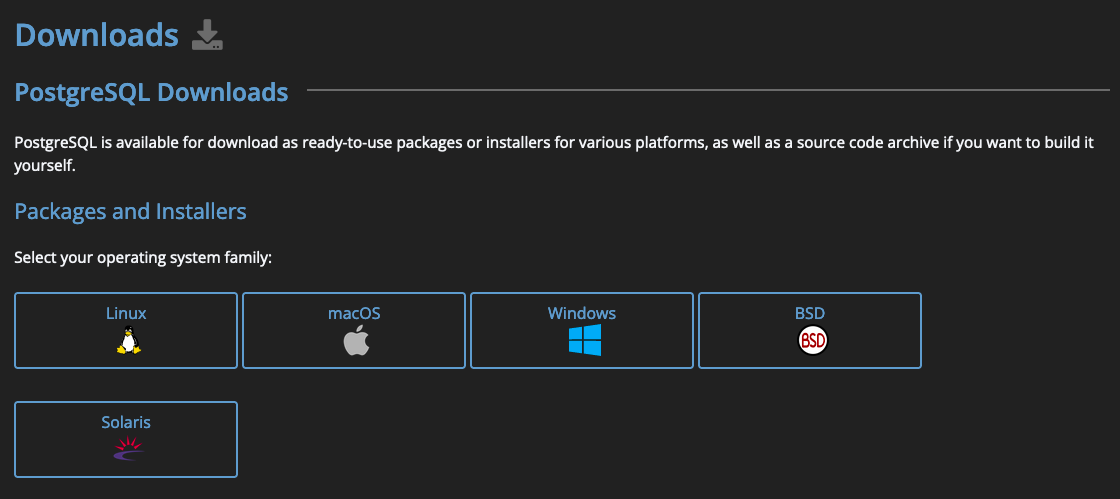
Installing PostgreSQL is straightforward. The software is available for all major operating systems, including Windows, macOS, and Linux. You can download the installer from the official website. The installation process is similar to installing any other software on your computer. Just choose the default settings, and you should be good to go.
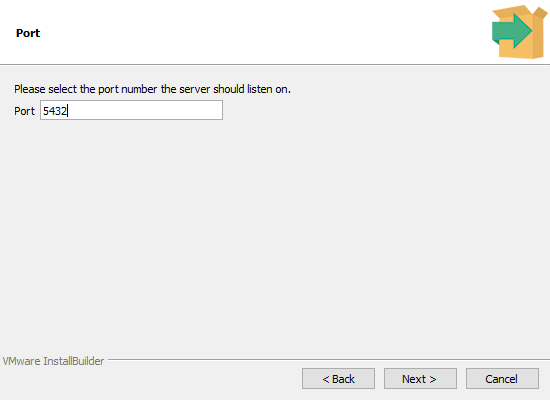
During the installation, you may have to set a password for the default user, postgres. Make sure to remember this password, as you will need it to connect to the database later. You will also need to choose a port number for the database server. The default port is 5432, and while you can change it, it is recommended to keep the default setting.

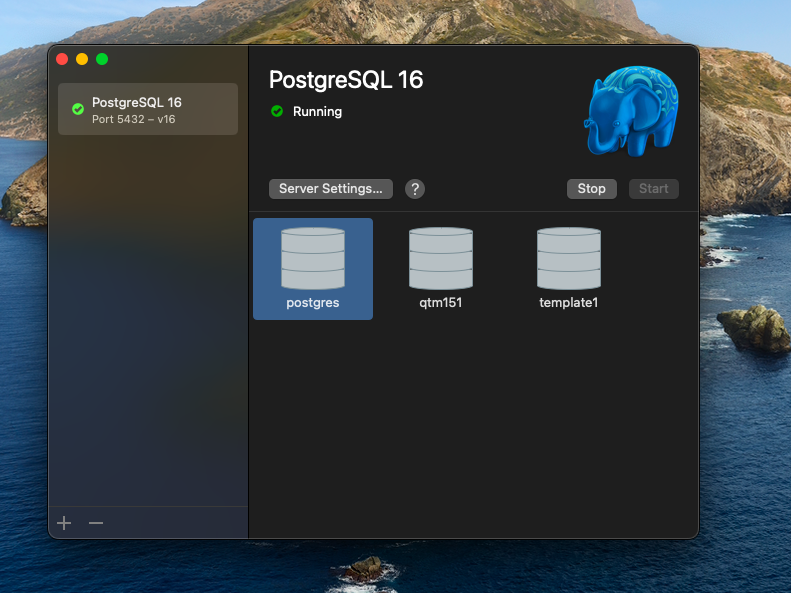
If the installation is successful, you should see a message indicating that PostgreSQL has been installed on your computer. When you launch the application, you will see a window with options to start, stop, or restart the database server.
Installing pgAdmin
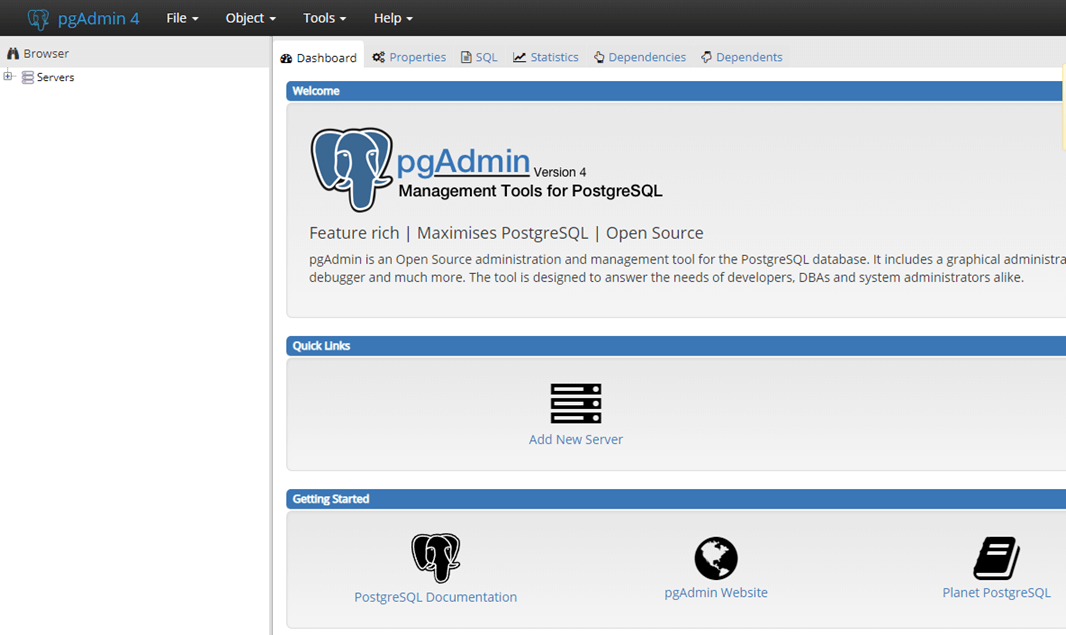
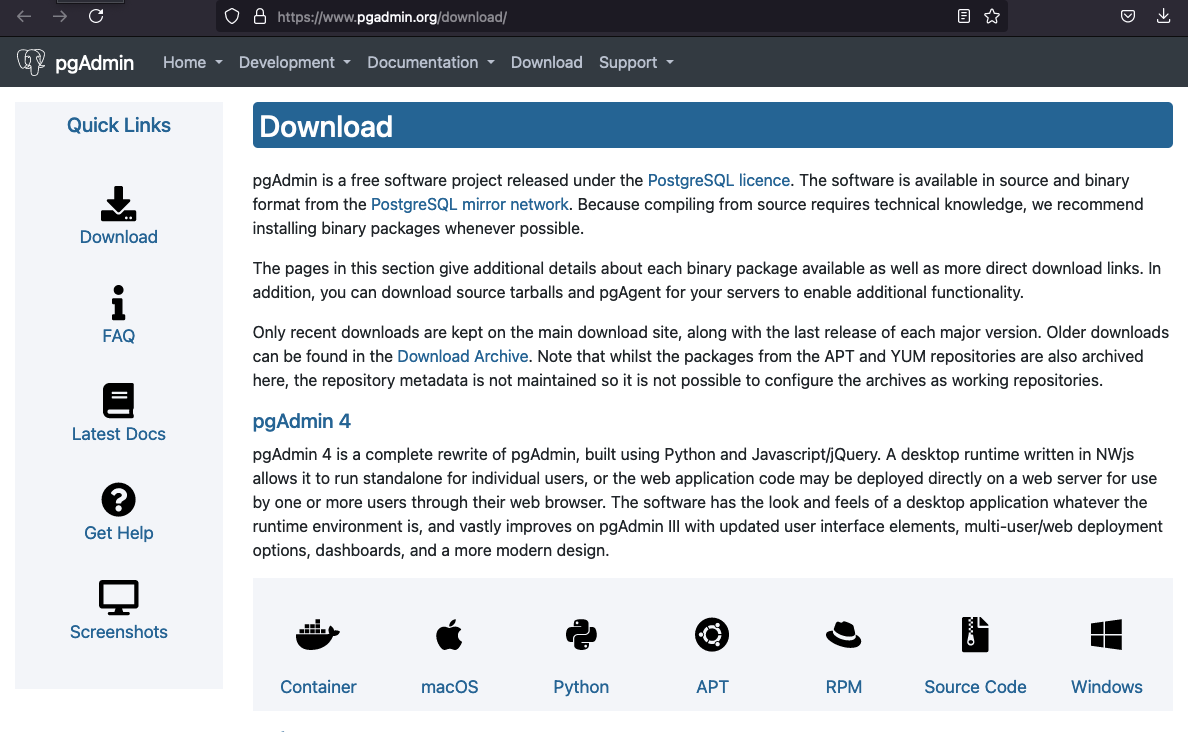
Another popular tool for managing PostgreSQL databases is pgAdmin. It is a web-based interface that allows you to create, edit, and delete databases, tables, and queries. You can download pgAdmin from the official website. The installation process is similar to installing PostgreSQL, and you can choose the default settings.
Windows users will have the option to install pgAdmin as part of the PostgreSQL installation process. If you choose this option, pgAdmin will be installed automatically, and you can access it from the Start menu.
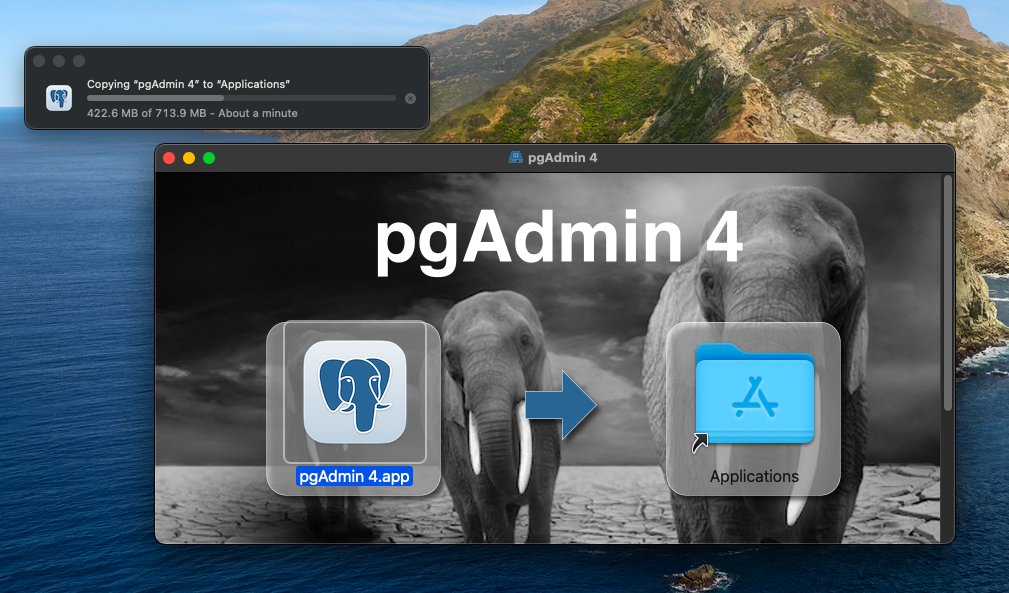
macOS and Linux users will need to download pgAdmin separately. Once installed, you can launch pgAdmin from the Applications folder on macOS or from the terminal on Linux.
Setting Up a Database and Creating a Table
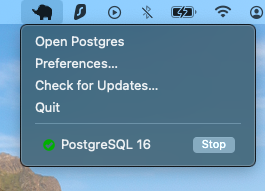
Now it is to create a database and test it with a simple table. First, make sure you have PostgreSQL running on your computer. Please run the PostgreSQL application and start the database server. You can also check if the server is running by looking at the system tray on Windows or the status bar on macOS.
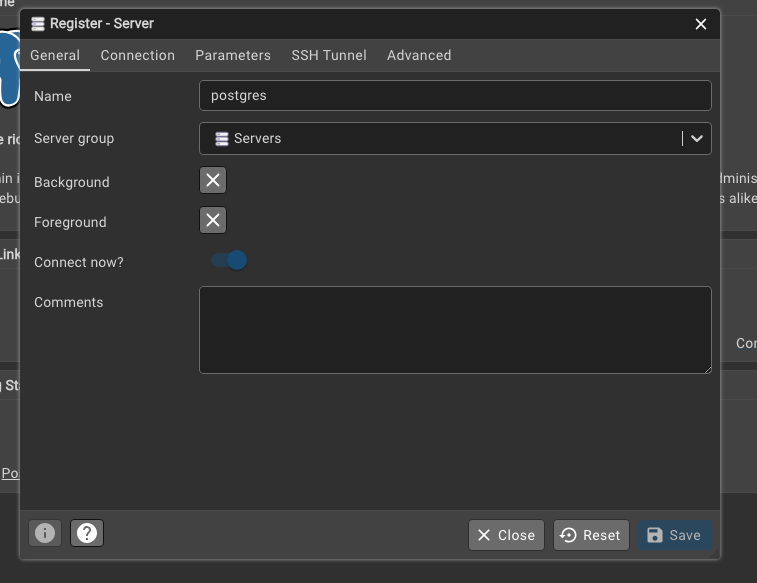
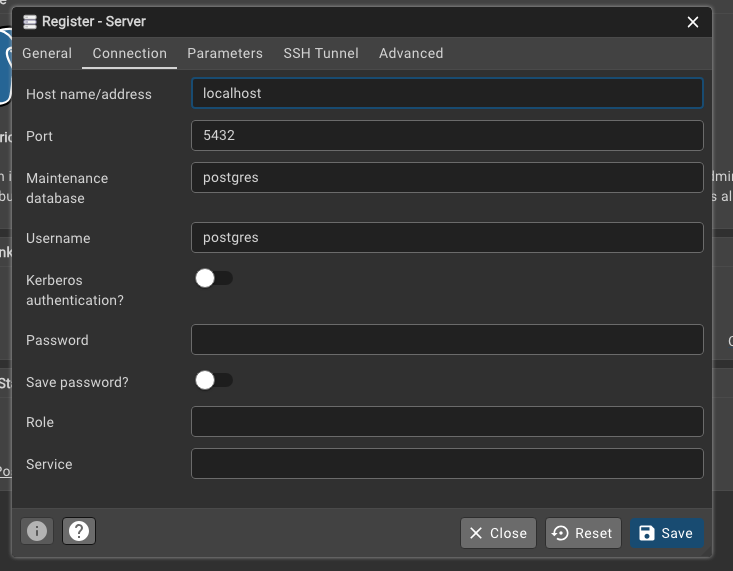
Then you can create a new table in the database using pgAdmin. Please open pgAdmin and click on “Add New Server”. You will need to enter the connection details for the database server, including the host, port, username, and password. The host is usually localhost, and the port is 5432. The username is postgres, and the password is the one you set during the installation process. Once you have entered the connection details, click “Save” to connect to the database server.
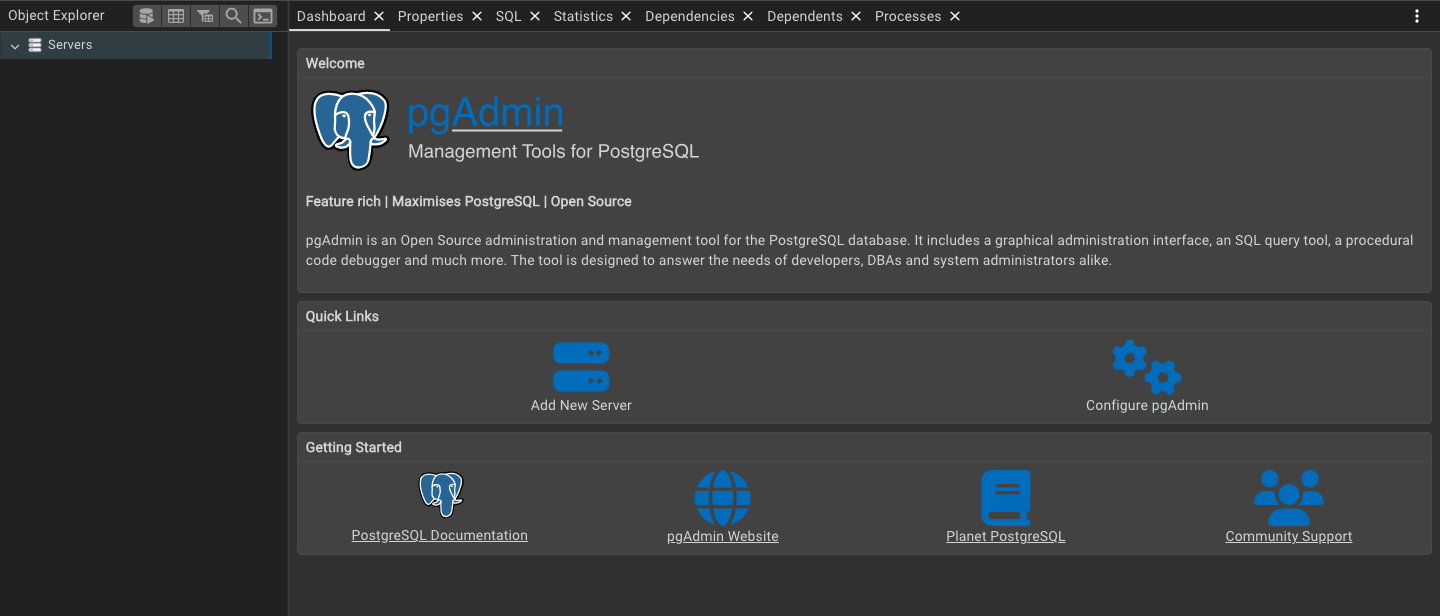
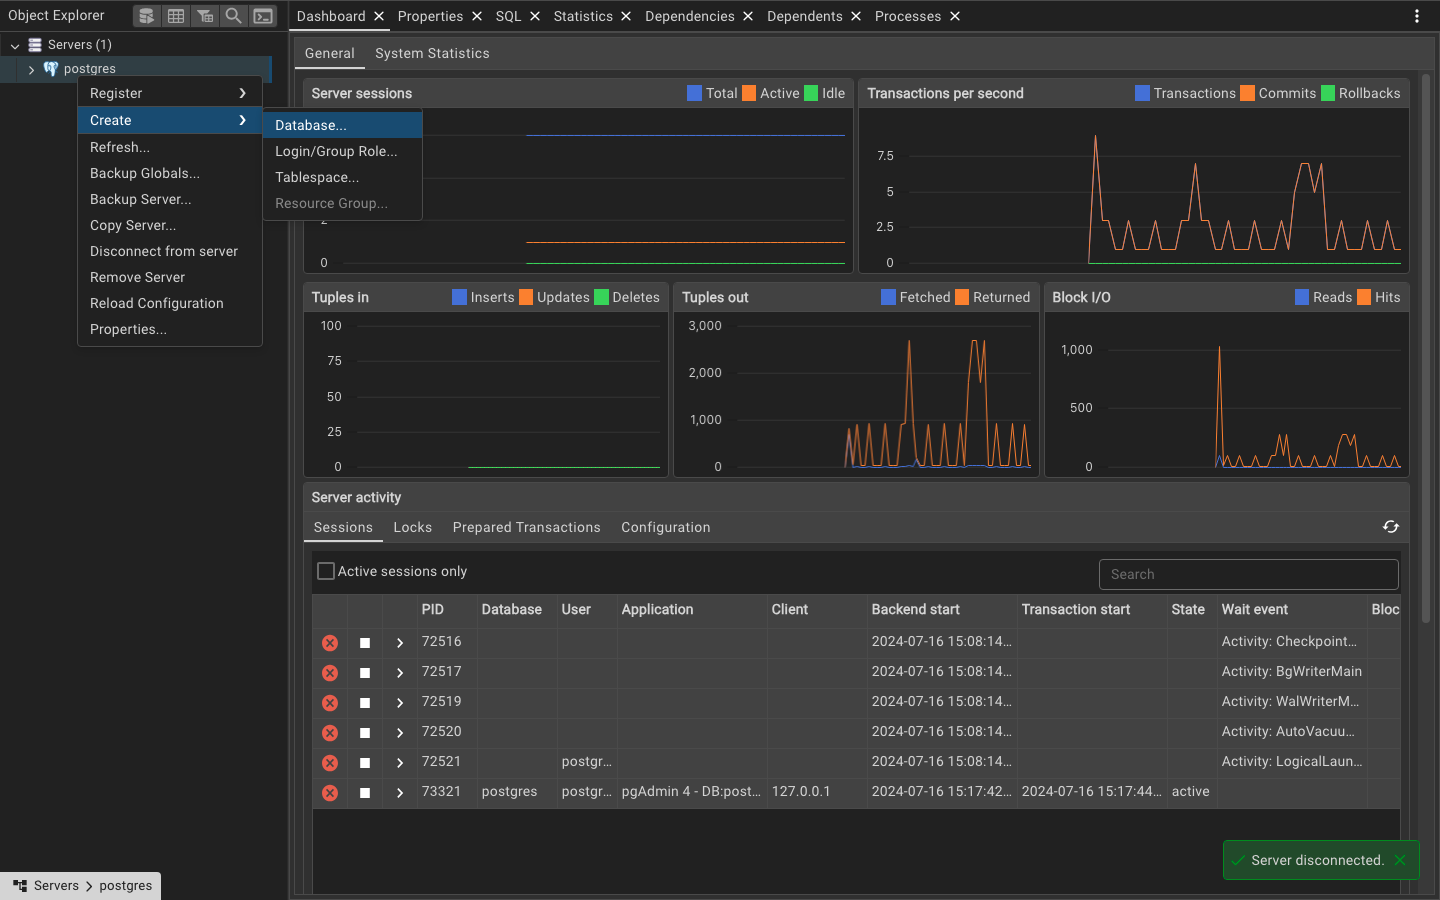
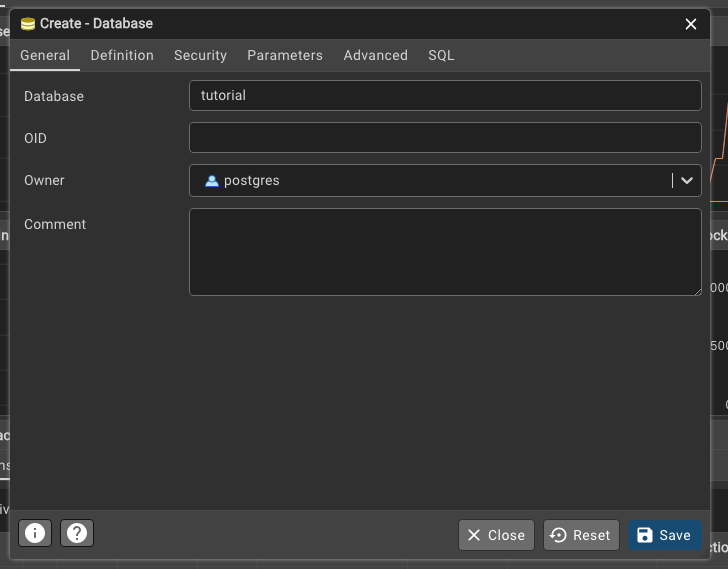
You should see a screen like the one below, with the server connected on the left-hand side. Right-click on the server and select “Create” > “Database” to create a new database. You can name the database tutorial and click “Save” to create it.
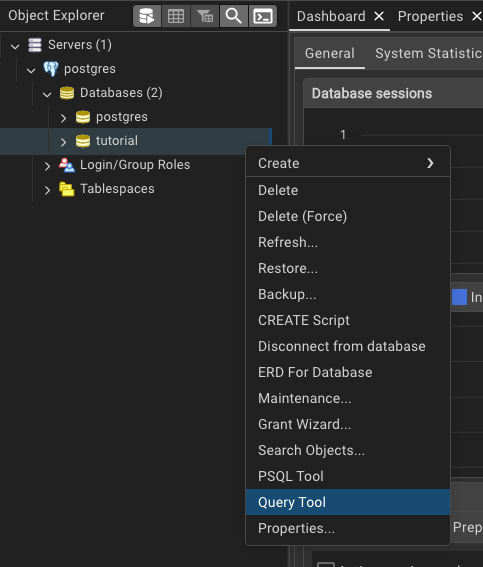
If you have made it this far, congratulations! You have successfully set up a PostgreSQL database on your computer. Now let us create a table in the tutorial database. Right-click on the tutorial database and select “Query Tool” to open a new query window. You can write SQL queries in this window to interact with the database.
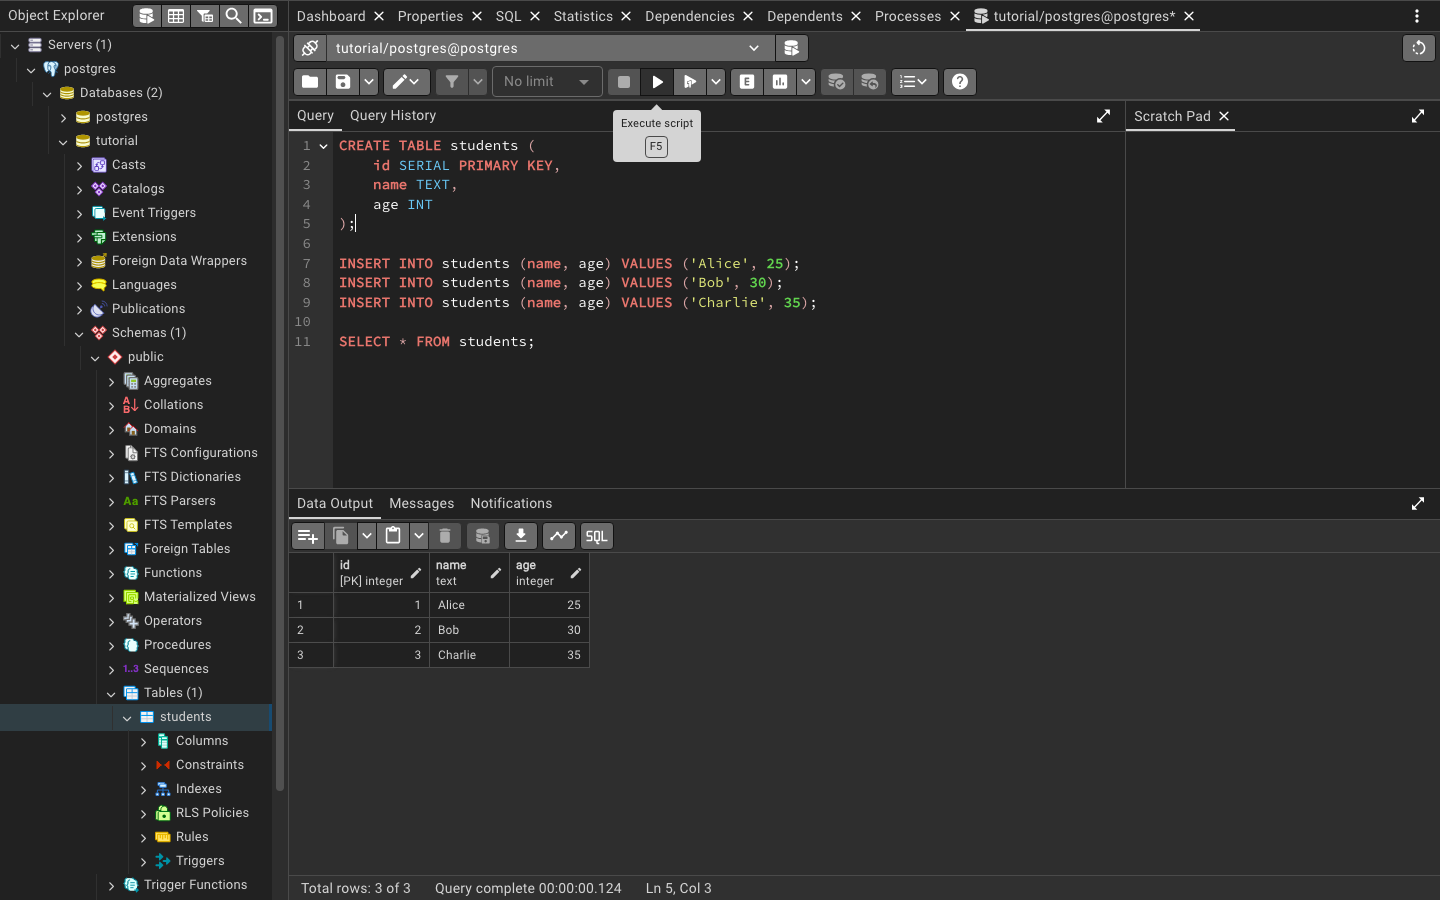
In the query window, you can write the following SQL query to create a new table called students with three columns: id, name, and age. The id column is a serial variable (a series of numbers), and it is the primary key for the table. A primary key is a unique identifier for each row in the table. The name column is a text field, and the age column is an integer (a number).
CREATE TABLE students (
    id SERIAL PRIMARY KEY,
    name TEXT,
    age INT
);

INSERT INTO students (name, age) VALUES ('Alice', 25);
INSERT INTO students (name, age) VALUES ('Bob', 30);
INSERT INTO students (name, age) VALUES ('Charlie', 35);

SELECT * FROM students;
Click on the “Execute” button to run the query, or press F5 on your keyboard. You will see the results of the query in the lower panel of the query window. The three INSERT statements add three rows to the students table with the names Alice, Bob, and Charlie, and their respective ages. The SELECT statement retrieves all the rows from the students table and shows the three rows you just inserted.
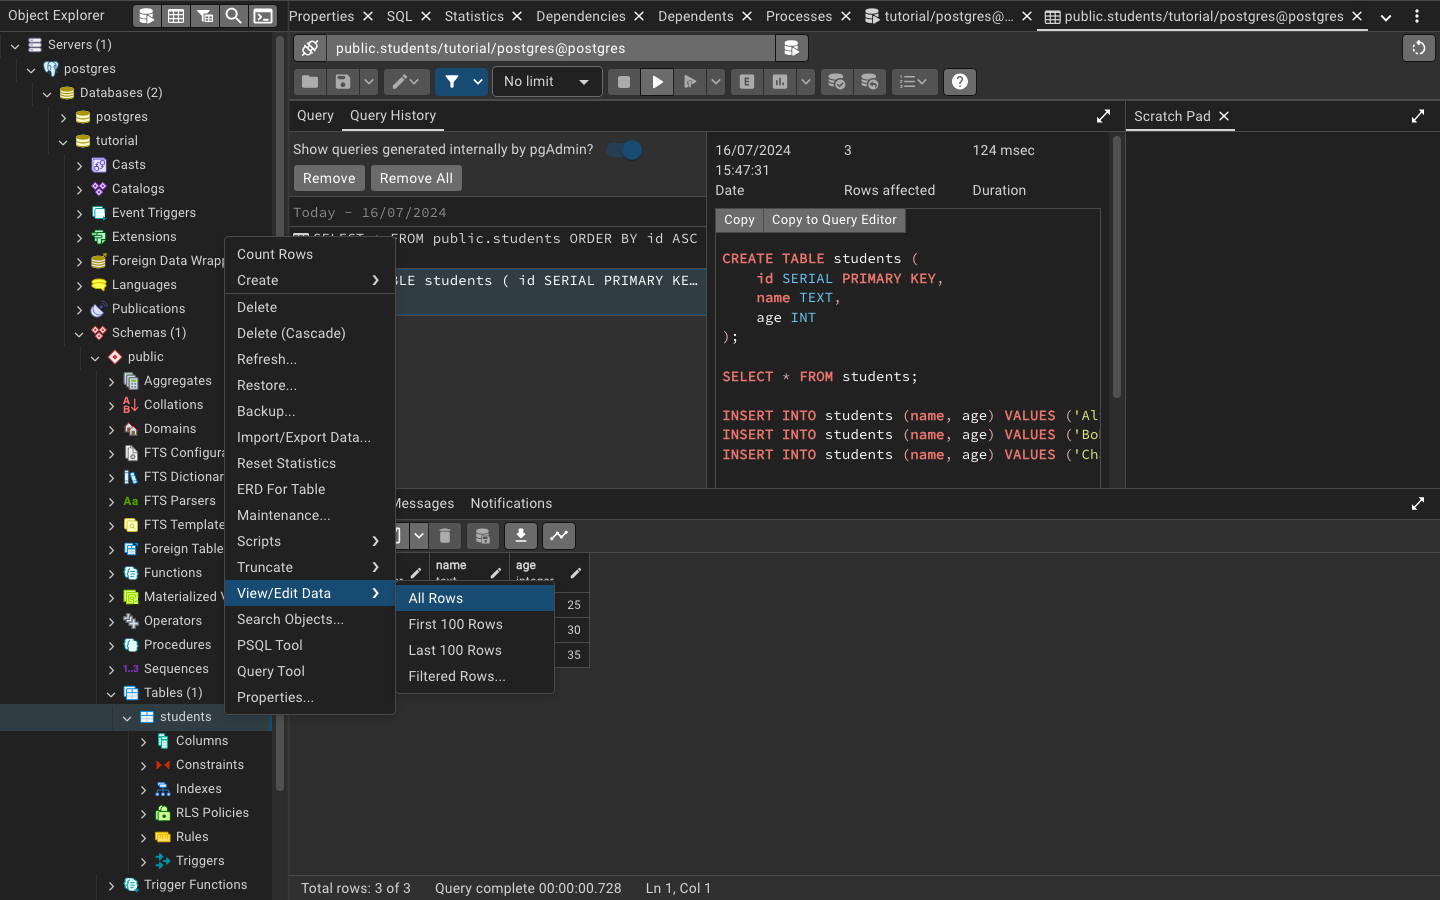
You can also find the table students under the tutorial database on the left-hand side of the pgAdmin window. Click on tutorial, then on Schemas, public, and finally on Tables to see the students table. You can right-click on the table and select “View/Edit Data” to see the rows you inserted. You will also see the query you just ran in the “History” tab.
Using the VS Code Extension
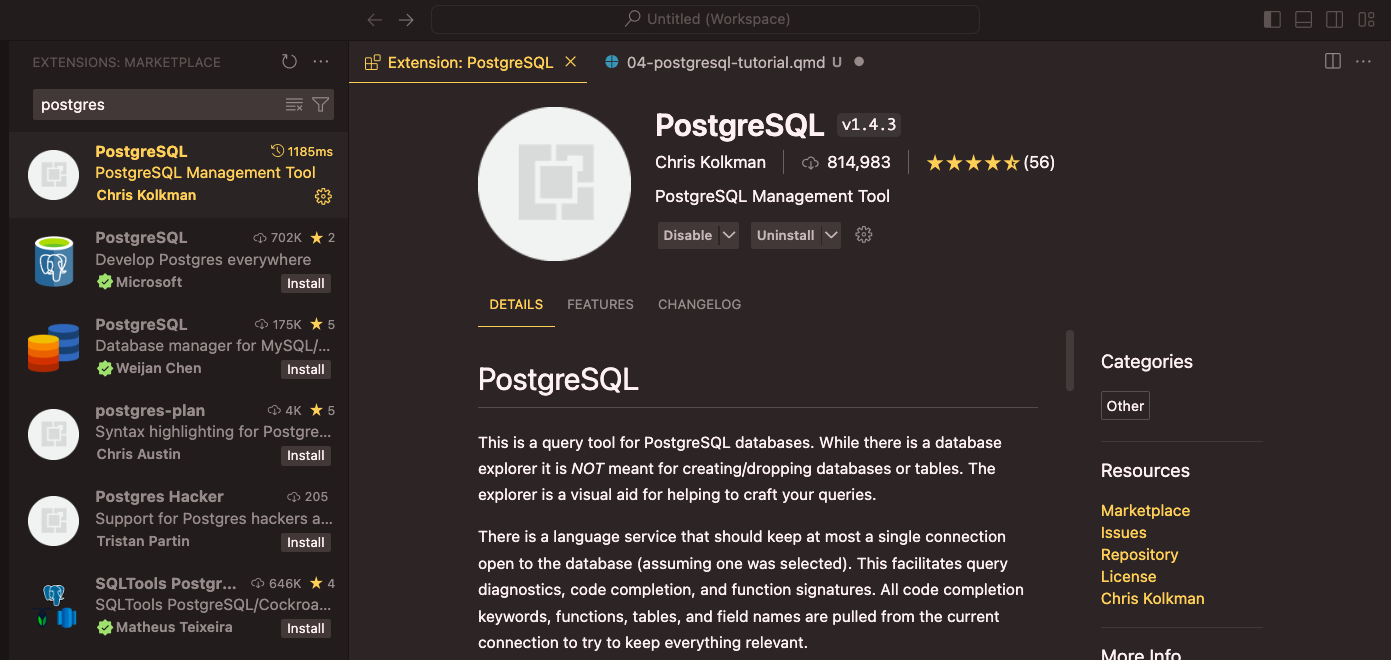
You can also install the VS Code extension for PostgreSQL to interact with the database directly from the editor. This extension provides a graphical interface for managing databases, tables, and queries. You can install it from the VS Code marketplace by searching for “PostgreSQL”. Please do not install the extension made by Microsoft, as it is not actively maintained. The extension does not fully replace pgAdmin, but it is a convenient way to run queries and view the results without leaving the editor.
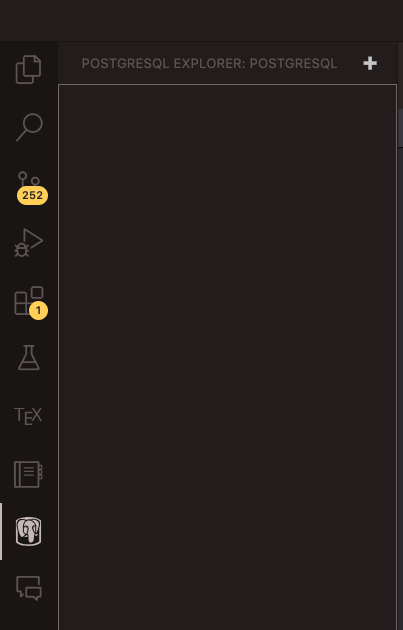
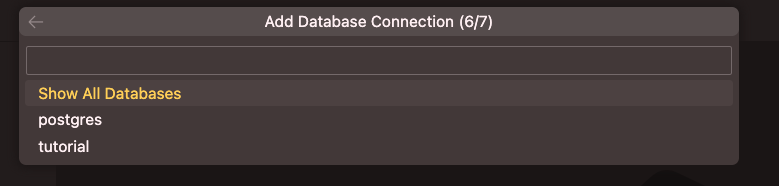
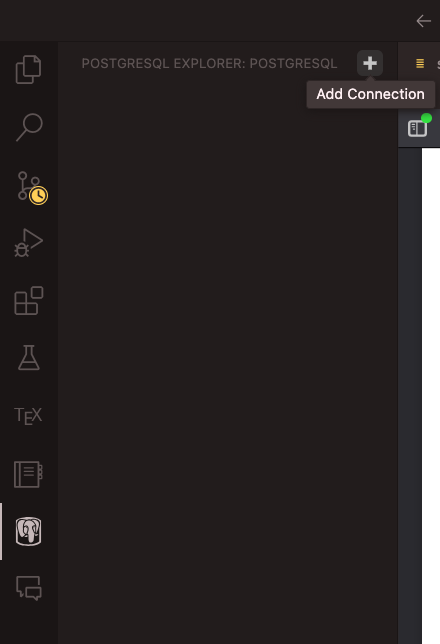
After you have installed the extension, you need to connect VS Code to the database server by clicking on the “PostgreSQL” icon in the sidebar (it looks like an elephant). Then click on the + sign in the new tab (“Add Connection”). You will need to enter the connection details for the server, including the host, port, username, and password. Once you have entered the details, click “Connect” to establish a connection to the server. In this case, the username is postgres, the password is the one you set during the installation process, the host is localhost, and the port is 5432. The database is called tutorial. You will find the student table by clicking on tutorial and then on public.


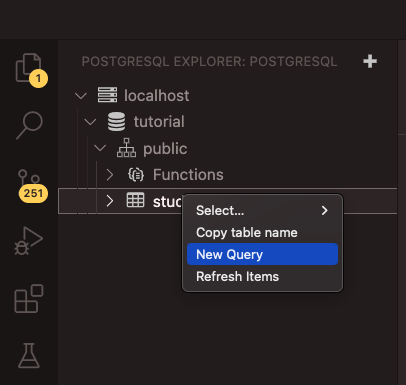
You are ready to run queries in VS Code. Click with the right button on the students table and select “New Query” to open a new query window. You can write the same SQL queries you used in pgAdmin to interact with the students table. As with pgAdmin, you run the queries by pressing F5 on your keyboard. For example:
SELECT * FROM students
WHERE name = 'Bob';
This query retrieves all rows from the students table where the name is Bob. In our case, it will show one row. You can see the results of the query in the lower panel of the query window.

Basic SQL Queries
Now that you have created a table in the database, you can write SQL queries to interact with it. SQL is an easy language to learn, and it is very similar to English. Here are some of the basic commands you can use to query the students table:
SELECT: Retrieves data from the table.INSERT: Adds new rows to the table.UPDATE: Modifies existing rows in the table.DELETE: Removes rows from the table.WHERE: Filters rows based on a condition.ORDER BY: Sorts rows in ascending or descending order.
Let us see some examples:
-- Select all rows from the students table
SELECT * FROM students;

-- Select only the name and age columns from the students table
SELECT name, age FROM students;

-- Select rows where the age is greater than 30
SELECT * FROM students WHERE age > 30;

-- Insert a new row into the students table
INSERT INTO students (name, age) VALUES ('David', 40);

-- Update the age of the student named Alice
UPDATE students SET age = 26 WHERE name = 'Alice';

-- Delete the student named Bob from the table
DELETE FROM students WHERE name = 'Bob';

-- Select all rows from the students table in descending order of age
SELECT * FROM students ORDER BY age DESC;

-- Select the average age of all students
SELECT AVG(age) FROM students;

-- Select the number of students in the table
SELECT COUNT(*) FROM students;

-- Select the name and age of the oldest student
SELECT name, age FROM students ORDER BY age DESC LIMIT 1;
You can run these queries in the query window in pgAdmin to see the results. There is no need to re-create the students table, as it is already in the tutorial database. You can also experiment with different queries to get a better understanding of how SQL works.
We will learn how to write SQL queries throughout the course, so do not worry if you are not familiar with them yet. The key is to practice and experiment with different queries to see how they work. You can also find many tutorials and resources online to help you learn SQL. My suggestions are W3Schools, SQLZoo, and Khan Academy. However, feel free to find YouTube videos, online courses, or books that suit your learning style.
Integrating PostgreSQL with Python with psycopg2
In this tutorial, I will show you two ways to integrate PostgreSQL with Python. The first method is using the psycopg2 library, which is a PostgreSQL adapter for Python. The second method, which I find more convenient, is using the sqlalchemy library to convert the results of a PostgreSQL query to a pandas DataFrame.
Let us start with the psycopg2 library. First, you need to install the library using conda:
conda install psycopg2Then you can write Python code to connect to the database, run queries, and retrieve the results. Here is an example:
# Install the required packages
# conda install psycopg2

# Import the required library
import psycopg2

# Connect to the database
conn = psycopg2.connect(
    host="localhost",
    port=5432,
    database="tutorial",
    user="postgres",
    password="") # Change the password to your password

# Create a cursor object. This is used to interact with the database.
cur = conn.cursor()

# Run a query
cur.execute("SELECT * FROM students")

# Fetch the results
rows = cur.fetchall()

# Print the results
for row in rows:
    print(row)

# Close the cursor and the connection. This is important as it will free up the resources.
cur.close()

# Commit the transaction. This will save the changes to the database.
# No need to run this if you are only reading from the database.
conn.commit()

# Close the connection
conn.close()
This code connects to the tutorial database on localhost using the psycopg2 library. It runs a query to select all rows from the students table and prints the results. You can run this code in a Python script or a Jupyter notebook to interact with the database from Python. You can find a Jupyter Notebook with this code in the GitHub repository.
Converting PostgreSQL Data to a pandas DataFrame
Pandas is the go-to library for data manipulation in Python, and it is extensively used in data science and machine learning projects. So it is important to know how to convert the results of a PostgreSQL query to a Pandas DataFrame. Fortunately, pandas already has a method to do this, and you can use it in conjunction with the sqlalchemy library.
You need to install the pandas and sqlalchemy libraries using conda, then connect to the database using the create_engine function from sqlalchemy. The format of the connection string, in general, is postgresql://username:password@host:port/database. In our case, the username is postgres, the password is the one you set during the installation process (as I did not set any, the field is empty), the host is localhost, the port is 5432, and the database is tutorial.
After connecting to the database, you can run a query using the read_sql_query function from pandas to convert the results to a Pandas DataFrame. This is how the code looks like:
# Install the required packages
# conda install pandas sqlalchemy

# Import the required libraries
import pandas as pd
from sqlalchemy import create_engine

# Connect to the database
# The syntax is 'postgresql://username:password@host:port/database'
# In our case, the username is postgres, password is blank, host is localhost,
# port is 5432 and database is tutorial
engine = create_engine('postgresql://postgres:@localhost:5432/tutorial')

# Run a query and convert the results to a Pandas DataFrame
# This query selects all rows from the students table
df = pd.read_sql_query('SELECT * FROM students', con=engine)

# Print the DataFrame
print(df)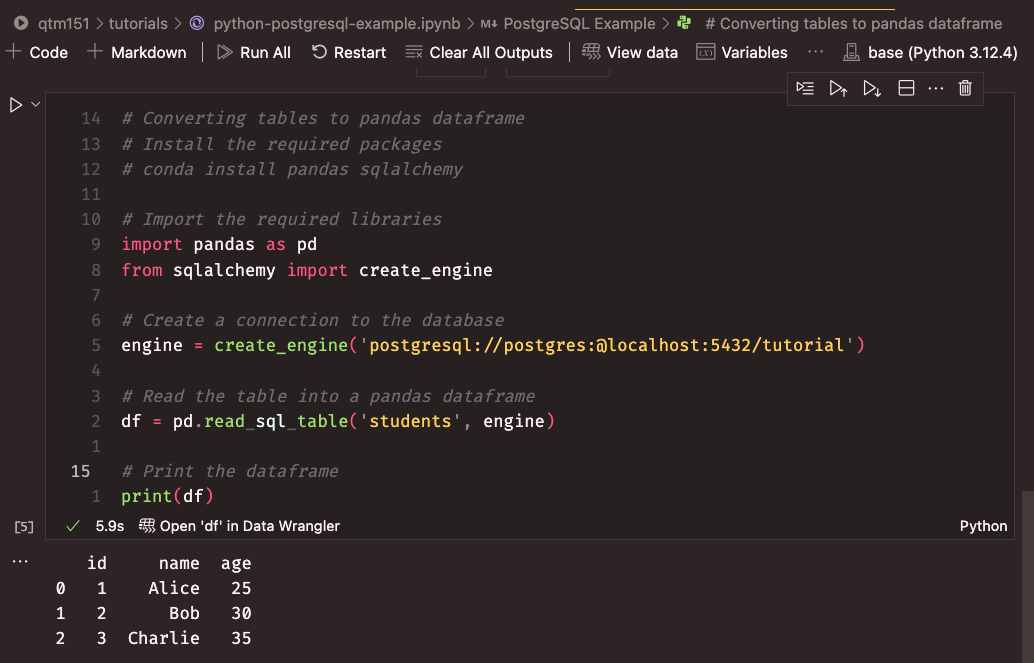
Now you can perform all sorts of data manipulation and analysis on the DataFrame using pandas!
And that is it! You have learned how to install PostgreSQL, create a database and a table, write SQL queries, and integrate PostgreSQL with Python. Please remember that this tutorial covers topics that you will learn throughout the course, so please do not be discouraged if you do not understand everything right away. We have plenty of time to practice and learn together!
I hope you enjoyed this tutorial and found it useful. If you have any questions or feedback, please let me know. Thank you for reading! :)
Footnotes
In SQL, a database is a system that stores and organises multiple sets of related data. It typically contains several tables, each of which is a structured collection of data arranged in rows and columns. For instance, a ‘School’ database might contain separate tables for ‘Students’, ‘Teachers’, and ‘Classes’. Each table would store specific information: the ‘Students’ table might have columns for student ID, name, and year group, with each row representing an individual student’s details. Databases can also contain objects other than tables, such as views (virtual tables used for data retrieval), indexes (optimised data structures for faster data retrieval), and stored procedures (predefined SQL queries that can be reused). While databases are managed by Database Management Systems (DBMS), such as PostgreSQL, and handle overall data organisation and integrity, tables are manipulated using SQL commands for specific data operations within their structure, as we will see below.↩︎